You can connect your Ledger wallet to MetaMask and use dapps and make transactions in a much safer way.
In this guide, I will show you how to connect Ledger Nano X to MetaMask and use MetaMask with Ledger Nano X.
If you have a Ledger Nano S Plus or plan to buy one, you can follow the same steps here to connect your wallet to MetaMask.
There are mainly two reasons you may want to use MetaMask with your Ledger Nano X or S Plus wallet.
One is to manage your ERC721 tokens, aka NFTs / crypto collectibles, in MetaMask and the other reason is to use dapps and make transactions without fear of getting hacked.
Also, you can view and transfer unsupported tokens on your Ledger addresses through MetaMask.
To connect your Ledger Nano X wallet to MetaMask, you first need to allow blind signing in transactions on your device to be able to connect your device to MetaMask.
You can find and enable blind signing by clicking on the Ethereum app on your Ledger Nano X device and then settings.
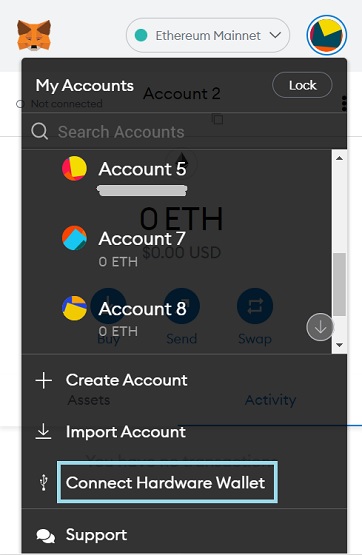
After enabling blind signing on your device, log in to your MetaMask wallet in your browser and click on ”connect hardware wallet”.
First plug your Ledger Nano X device into your computer via USB, and don’t open the Ledger Live app.
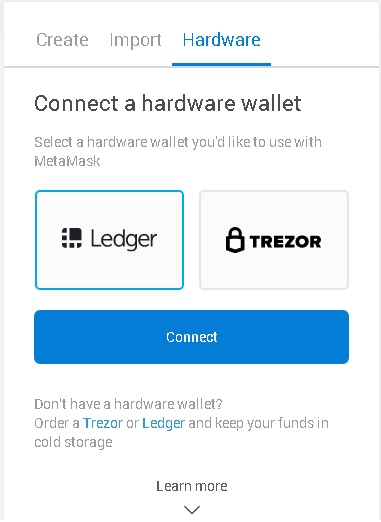
After your device is plugged in, choose ”Ledger” and click on the ”connect” button in MetaMask.
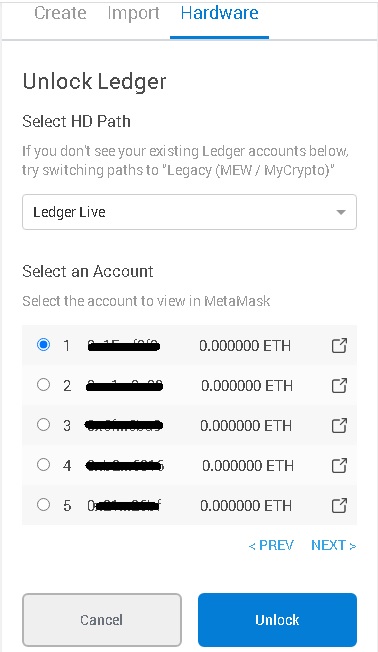
Choose ”Ledger Live” and select the address you want to use, and click on the ”unlock” button.
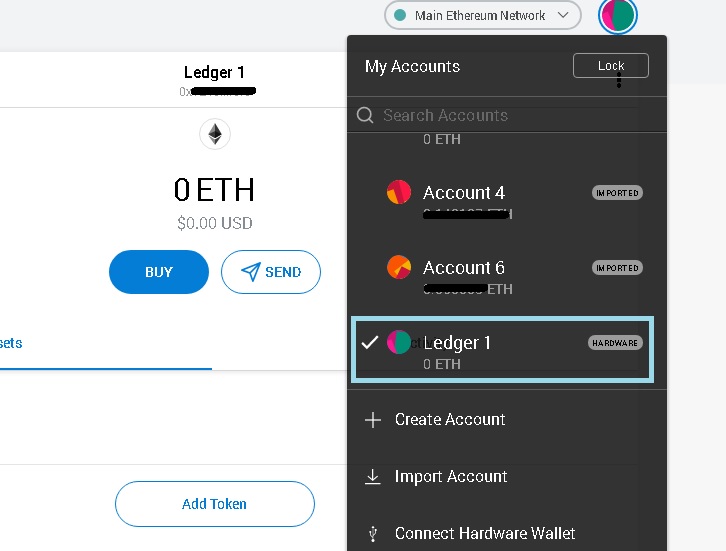
Now your Ledger Nano X account is successfully connected to MetaMask. You can use decentralized exchanges, DeFi apps and other dapps safely with your Ledger Nano X wallet.
Before starting to use your address, click settings > advanced in MetaMask and change the preferred Ledger connection type to WebHID if it is not selected by default.
You can also manage your non-fungible tokens and unsupported tokens in MetaMask. To sign transactions, you always need your Nano X device to be plugged in.
If you want to transfer cryptocurrencies to your Ledger address, you can use Binance where a lot of tokens based on different networks are traded.
To open a Binance account with a 20%+25% fee discount and learn about Binance fees, check out the guides below:


Check out cryptocurrency wallet reviews & tutorials: